前面我们做了登录界面,并且也实现了登录功能。
但我们要是再访问一下页面的话,那么我们还是会被要求登录。
在实际的系统里是会想办法来记住你的登录状态的,其中一种就是 Session。
同时,我们今天要对前两天的代码做进一步的优化。
1.我们先来整理前几天的代码吧。
- web 下的这三个文件移动到 WEB-INF/views/login,放到这里用户就不能直接访问了。
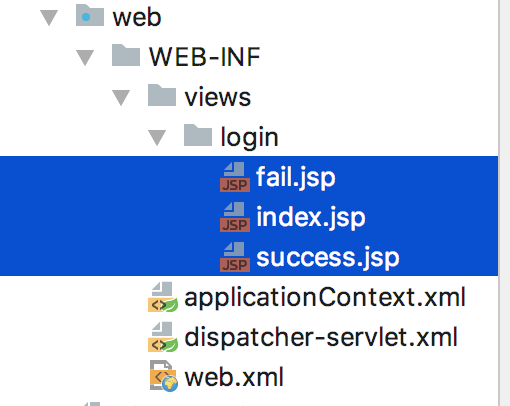
- 修改 applicationContext.xml ,把资源的目录解析到我们的新目录里。
-
<?xml version="1.0" encoding="UTF-8"?>
<beans xmlns="http://www.springframework.org/schema/beans"
       xmlns:xsi="http://www.w3.org/2001/XMLSchema-instance" xmlns:mvc="http://www.springframework.org/schema/mvc"
       xsi:schemaLocation="http://www.springframework.org/schema/beans http://www.springframework.org/schema/beans/spring-beans.xsd http://www.springframework.org/schema/mvc http://www.springframework.org/schema/mvc/spring-mvc.xsd">

    <bean id="viewResolver"
          class="org.springframework.web.servlet.view.InternalResourceViewResolver">
        <property name="prefix" value="/WEB-INF/views/"/>
        <property name="suffix" value=".jsp"/>
    </bean>

</beans>
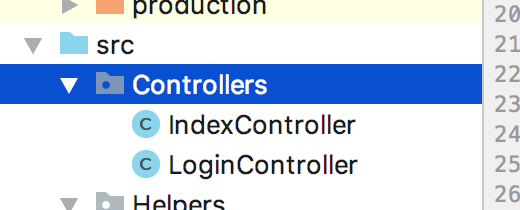
- 把控制器包 Controller 的名字改成 Controllers,和其他包名字统一,同时记住修改下 dispatcher-serverlet.xml
- 规整一下路由。
- 修改 web.xml ,改 dispatcher 的 url-pattern 那,让 dispatcher 接管所有请求。
-
<?xml version="1.0" encoding="UTF-8"?>
<web-app xmlns="http://xmlns.jcp.org/xml/ns/javaee"
         xmlns:xsi="http://www.w3.org/2001/XMLSchema-instance"
         xsi:schemaLocation="http://xmlns.jcp.org/xml/ns/javaee http://xmlns.jcp.org/xml/ns/javaee/web-app_4_0.xsd"
         version="4.0">
    <context-param>
        <param-name>contextConfigLocation</param-name>
        <param-value>/WEB-INF/applicationContext.xml</param-value>
    </context-param>
    <listener>
        <listener-class>org.springframework.web.context.ContextLoaderListener</listener-class>
    </listener>
    <servlet>
        <servlet-name>dispatcher</servlet-name>
        <servlet-class>org.springframework.web.servlet.DispatcherServlet</servlet-class>
        <load-on-startup>1</load-on-startup>
    </servlet>
    <servlet-mapping>
        <servlet-name>dispatcher</servlet-name>
        <url-pattern>/</url-pattern>
    </servlet-mapping>
</web-app>
-
- 修改 dispatcher-serverlet.xml 文件
-
<?xml version="1.0" encoding="UTF-8"?>
<beans xmlns="http://www.springframework.org/schema/beans"
       xmlns:xsi="http://www.w3.org/2001/XMLSchema-instance" xmlns:p="http://www.springframework.org/schema/p"
       xmlns:context="http://www.springframework.org/schema/context"
       xmlns:mvc="http://www.springframework.org/schema/mvc"
       xsi:schemaLocation="http://www.springframework.org/schema/beans http://www.springframework.org/schema/beans/spring-beans-4.0.xsd
            http://www.springframework.org/schema/context http://www.springframework.org/schema/context/spring-context-4.0.xsd
            http://www.springframework.org/schema/mvc http://www.springframework.org/schema/mvc/spring-mvc-4.0.xsd">

    <!-- 和下面的呼应,别把动态资源也给人家处理了 -->
    <mvc:annotation-driven />
    <context:component-scan base-package="Controllers"></context:component-scan>

    <!-- 为了便于开发我们让 Tomcat 来处理静态资源,这样不用配 Nginx 啥的了 -->
    <mvc:default-servlet-handler/>

</beans>
-
- 修改 LoginController,主要修改 RequestMapping 的访问路径和里面 return 的资源引用,同时添加了 一个 /login GET 方法,来显示
-
package Controllers;

import Helpers.DbConnection;
import Models.UsersEntity;
import org.hibernate.Criteria;
import org.hibernate.Session;
import org.hibernate.criterion.Restrictions;
import org.springframework.stereotype.Controller;
import org.springframework.ui.Model;
import org.springframework.web.bind.annotation.RequestMapping;
import org.springframework.web.bind.annotation.RequestMethod;
import org.springframework.web.bind.annotation.RequestParam;

import javax.servlet.http.HttpSession;
import java.util.List;


@Controller
public class LoginController {
    /**
     * @RequestParam注解的作用是:根据参数名从URL中取得参数值
     * @param username
     *            用户名,一定要对应着表单的name才行
     * @param password
     *            用户密码,也应该对应表单的数据项
     * @param model
     *            一个域对象,可用于存储数据值
     * @return
     */
    @RequestMapping("/login/submit") // @RequestMapping 注解可以用指定的URL路径访问本控制层
    public String login(@RequestParam("username") String username, @RequestParam("password") String password) {
        //创建数据库操作线程
        Session db_session = DbConnection.getSession();

        //创建初始创建条件
        Criteria criteria = db_session.createCriteria(UsersEntity.class);
        //往条件里加东西,等同于 where `username` = username
        criteria.add(Restrictions.eq("username", username));
        //列出所有查询结果
        List<UsersEntity> list = criteria.list();

        //告诉页面该显示哪个用户名
        model.addAttribute("username", username);
        if(list.isEmpty()) {
            //添加错误信息
            model.addAttribute("error_msg", " 用户不存在!");
            return "login/fail";
        } else {
            //获取结果里的第一个,对象类型为 UsersEntity,方法具体看 Models 里的 UsersEntity  类的定义
            UsersEntity user = list.get(0);
            //获取密码进行比较
            if(!user.getPassword().equals(password)) {
                model.addAttribute("error_msg", "  密码错误!");
                return "login/fail";
            }

            model.addAttribute("user_role_type", list.get(0).getUserRoleType());
            return "login/success";
        }
    }

    @RequestMapping(value = "/login", method = RequestMethod.GET)
    public String index(Model model, HttpSession session) {
        return "login/index";
    }
}
-
- 再修改一下 views/login/index.jsp,将其中 form 的 action 修改一下,和上面修改过后的路由对应。
-
<%@ page contentType="text/html;charset=UTF-8" language="java" %>
<!DOCTYPE>
<html>
<head>
  <meta http-equiv="Content-Type" content="text/html; charset=UTF-8">
  <title>登录</title>
</head>
<body>
  <form action="/login/submit" method="post">
    用户名:<input type="text" name="username"><br/>
    密码:<input type="password" name="password"><br/>
    <input type="submit" value="登陆">
  </form>
</body>
</html>
-
- 然后就可以试试了。
- 修改 web.xml ,改 dispatcher 的 url-pattern 那,让 dispatcher 接管所有请求。
2、然后就来写个 Interceptor 来拦截请求,主要是为了在 Controller 接到请求前进行判断处理。
创建一个包,叫 Interceptors,里面写一个类叫 LoginInterceptor

package Interceptors;

import Models.UsersEntity;
import org.springframework.web.servlet.HandlerInterceptor;
import org.springframework.web.servlet.ModelAndView;

import javax.servlet.http.HttpServletRequest;
import javax.servlet.http.HttpServletResponse;

public class LoginInterceptor implements HandlerInterceptor {
    @Override
    public boolean preHandle(HttpServletRequest httpServletRequest, HttpServletResponse httpServletResponse, Object o) throws Exception {
        //从 Session  里获取当前登录的用户
        UsersEntity user = (UsersEntity) httpServletRequest.getSession().getAttribute("user");
        if(user == null && httpServletRequest.getRequestURI().indexOf("/login") != 0) {
            //未登录
            httpServletResponse.sendRedirect("/login");
            return false;
        }

        //已登录的还访问登录界面就是搞事儿了
        if(user != null && httpServletRequest.getRequestURI().indexOf("/login") == 0) {
            //未登录
            httpServletResponse.sendRedirect("/");
            return false;
        }

        //已登录
        return true;
    }

    @Override
    public void postHandle(HttpServletRequest httpServletRequest, HttpServletResponse httpServletResponse, Object o, ModelAndView modelAndView) throws Exception {

    }

    @Override
    public void afterCompletion(HttpServletRequest httpServletRequest, HttpServletResponse httpServletResponse, Object o, Exception e) throws Exception {

    }
}
然后我们得改改 LoginController,让它在 Session 里记录用户信息。
package Controllers;

import Helpers.DbConnection;
import Models.UsersEntity;
import org.hibernate.Criteria;
import org.hibernate.Session;
import org.hibernate.criterion.Restrictions;
import org.springframework.stereotype.Controller;
import org.springframework.ui.Model;
import org.springframework.web.bind.annotation.RequestMapping;
import org.springframework.web.bind.annotation.RequestMethod;
import org.springframework.web.bind.annotation.RequestParam;

import javax.servlet.http.HttpSession;
import java.util.List;


@Controller
public class LoginController {
    /**
     * @RequestParam注解的作用是:根据参数名从URL中取得参数值
     * @param username
     *            用户名,一定要对应着表单的name才行
     * @param password
     *            用户密码,也应该对应表单的数据项
     * @param model
     *            一个域对象,可用于存储数据值
     * @param session
     *            线程对象,用于往线程里丢东西
     * @return
     */
    @RequestMapping("/login/submit") // @RequestMapping 注解可以用指定的URL路径访问本控制层
    public String login(@RequestParam("username") String username, @RequestParam("password") String password,
                        Model model, HttpSession session) {
        //创建数据库操作线程
        Session db_session = DbConnection.getSession();

        //创建初始创建条件
        Criteria criteria = db_session.createCriteria(UsersEntity.class);
        //往条件里加东西,等同于 where `username` = username
        criteria.add(Restrictions.eq("username", username));
        //列出所有查询结果
        List<UsersEntity> list = criteria.list();

        //告诉页面该显示哪个用户名
        model.addAttribute("username", username);
        if(list.isEmpty()) {
            //添加错误信息
            model.addAttribute("error_msg", " 用户不存在!");
            return "login/fail";
        } else {
            //获取结果里的第一个,对象类型为 UsersEntity,方法具体看 Models 里的 UsersEntity  类的定义
            UsersEntity user = list.get(0);
            //获取密码进行比较
            if(!user.getPassword().equals(password)) {
                model.addAttribute("error_msg", "  密码错误!");
                return "login/fail";
            }

            model.addAttribute("user_role_type", list.get(0).getUserRoleType());

            //把用户信息存 Session
            session.setAttribute("user", list.get(0));

            return "login/success";
        }
    }

    @RequestMapping(value = "/login", method = RequestMethod.GET)
    public String index(Model model, HttpSession session) {
        return "login/index";
    }
}
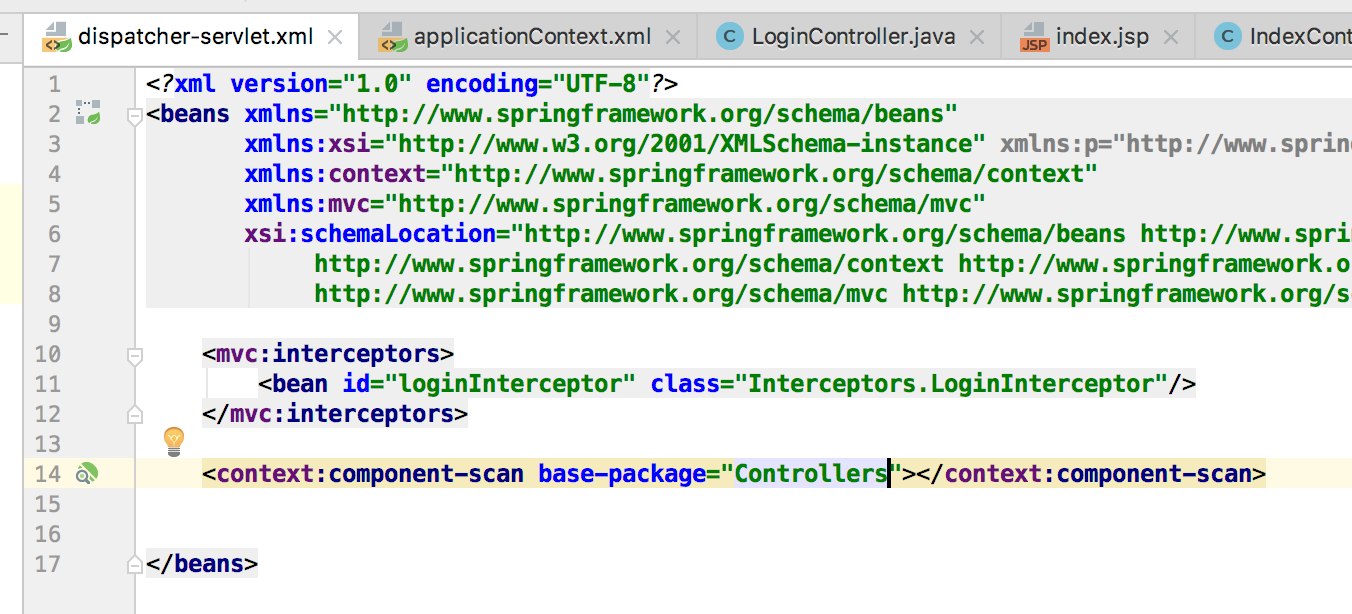
然后就是把这个拦截器注册下,在 dispatcher-serverlet.xml 里。主要看 <mvc:interceptors> 那段就可以了。
<?xml version="1.0" encoding="UTF-8"?>
<beans xmlns="http://www.springframework.org/schema/beans"
       xmlns:xsi="http://www.w3.org/2001/XMLSchema-instance" xmlns:p="http://www.springframework.org/schema/p"
       xmlns:context="http://www.springframework.org/schema/context"
       xmlns:mvc="http://www.springframework.org/schema/mvc"
       xsi:schemaLocation="http://www.springframework.org/schema/beans http://www.springframework.org/schema/beans/spring-beans-4.0.xsd
            http://www.springframework.org/schema/context http://www.springframework.org/schema/context/spring-context-4.0.xsd
            http://www.springframework.org/schema/mvc http://www.springframework.org/schema/mvc/spring-mvc-4.0.xsd">

    <!-- 注册拦截器组 !-->
    <mvc:interceptors>
        <!-- 注册拦截器 !-->
        <mvc:interceptor>
            <!-- 拦截所有路径 !-->
            <mvc:mapping path="/**" />
            <!-- 拦截器是哪个类的 !-->
            <bean class="Interceptors.LoginInterceptor" />
        </mvc:interceptor>
    </mvc:interceptors>

    <!-- 和下面的呼应,别把动态资源也给人家处理了 -->
    <mvc:annotation-driven />

    <!-- 让框架自个儿找去吧 !-->
    <context:component-scan base-package="Controllers"></context:component-scan>

    <!-- 为了便于开发我们让 Tomcat 来处理静态资源,这样不用配 Nginx 啥的了 -->
    <mvc:default-servlet-handler/>

</beans>
然后我们还得来写个首页,这样登录以后就可以看到自己登录了,再顺带写个登出吧。
首先是 Controllers 里的 IndexController。
package Controllers;

import org.springframework.stereotype.Controller;
import org.springframework.ui.Model;
import org.springframework.web.bind.annotation.RequestMapping;

import javax.servlet.http.HttpSession;

@Controller
public class IndexController {
    @RequestMapping("/")
    public String index(Model model) {
        return "index/index";
    }

    @RequestMapping("/logout")
    public String logout(Model model, HttpSession session) {
        session.removeAttribute("user");
        return "index/logout";
    }
}
然后就是 WEB_INF/views/index 里的两个文件
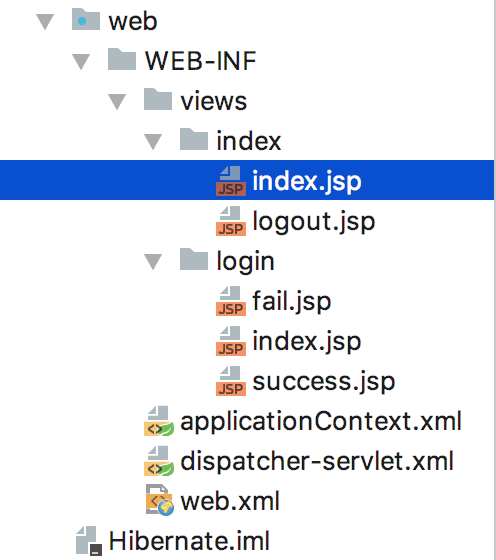
index.jsp
<%@ page import="Models.UsersEntity" %>
<%@ page contentType="text/html;charset=UTF-8" language="java" %>
<% UsersEntity user = (UsersEntity) session.getAttribute("user"); %>
<html>
<head>
    <title>您已登录</title>
</head>
<body>
    <p>
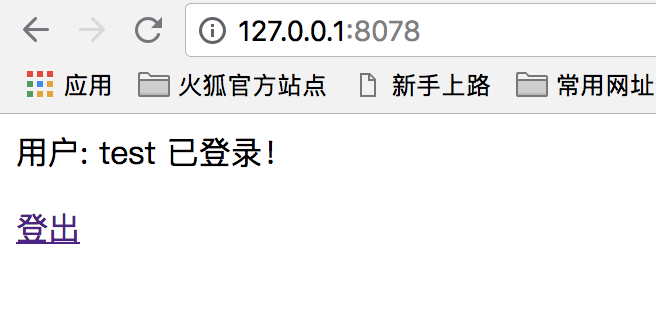
        用户: <%=user.getUsername()%> 已登录!
    </p>
    <p>
        <a href="/logout">登出</a>
    </p>
</body>
</html>
logout.jsp
<%@ page contentType="text/html;charset=UTF-8" language="java" %>
<html>
<head>
    <title>登出成功</title>
</head>
<body>
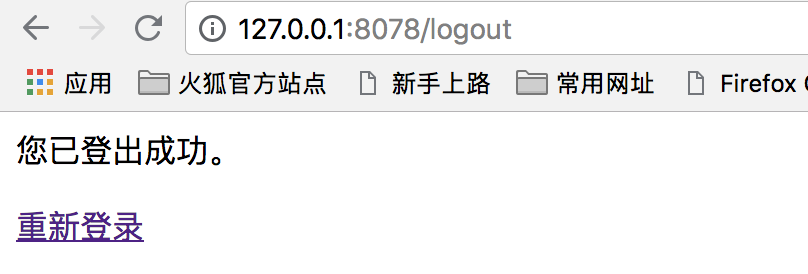
    <p>您已登出成功。</p>
    <p>
        <a href="/login">重新登录</a>
    </p>
</body>
</html>
然后把之前的文件我们也顺带改改,这样操作也更顺畅些。
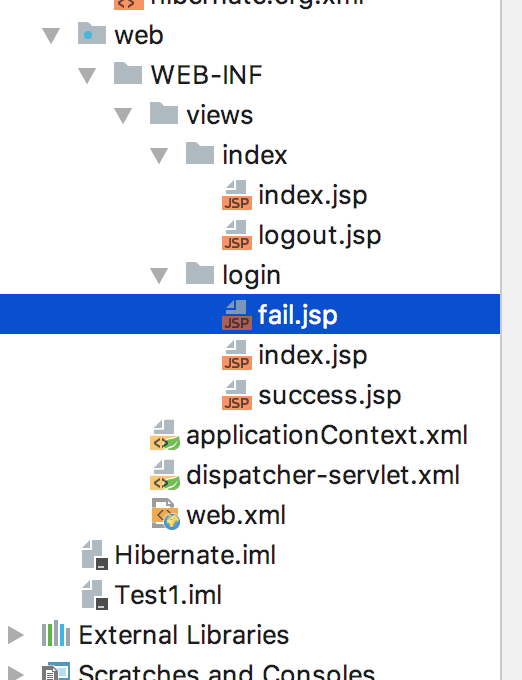
fail.jsp
<%@ page contentType="text/html;charset=UTF-8" language="java" %>
<html>
<head>
    <title>失败</title>
</head>
<body>
    <p>用户名: ${username} 登录失败!错误原因:${error_msg}</p>
    <p>
        <a href="/login">重新登录</a>
    </p>
</body>
</html>
success.jsp
<%@ page contentType="text/html;charset=UTF-8" language="java" %>
<html>
<head>
    <title>成功</title>
</head>
<body>
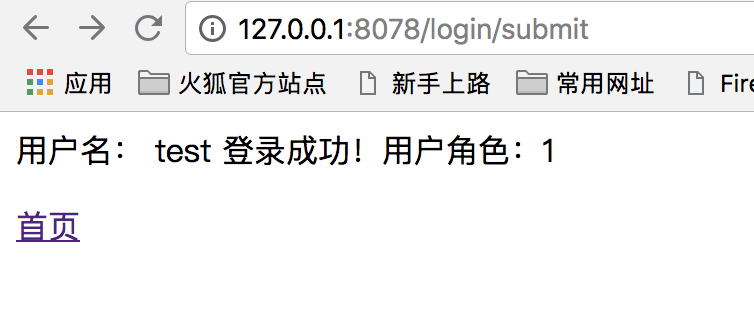
    <p>用户名: ${username} 登录成功!用户角色:${user_role_type}</p>
    <p>
        <a href="/">首页</a>
    </p>
</body>
</html>
3、然后来运行试试吧
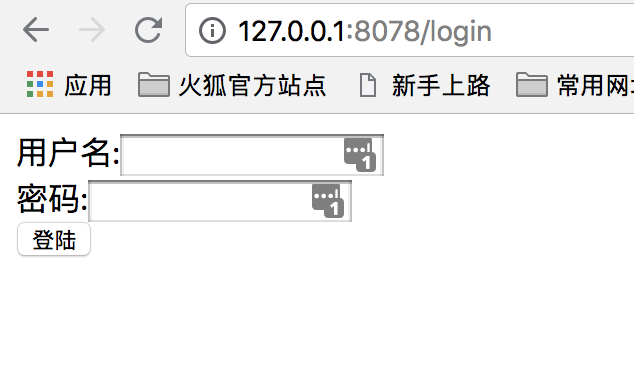
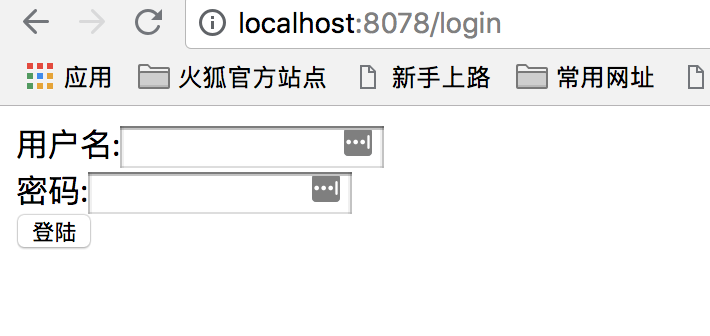
访问 http://127.0.0.1:8078/ 就会自动跳转到 http://127.0.0.1:8078/login 了,因为没登录。
