前言
通过 VulDB 来提交漏洞并获取 CVE 编号确实比直接邮件去提交和获取 CVE 编号快很多,来记录和分享一下。
步骤
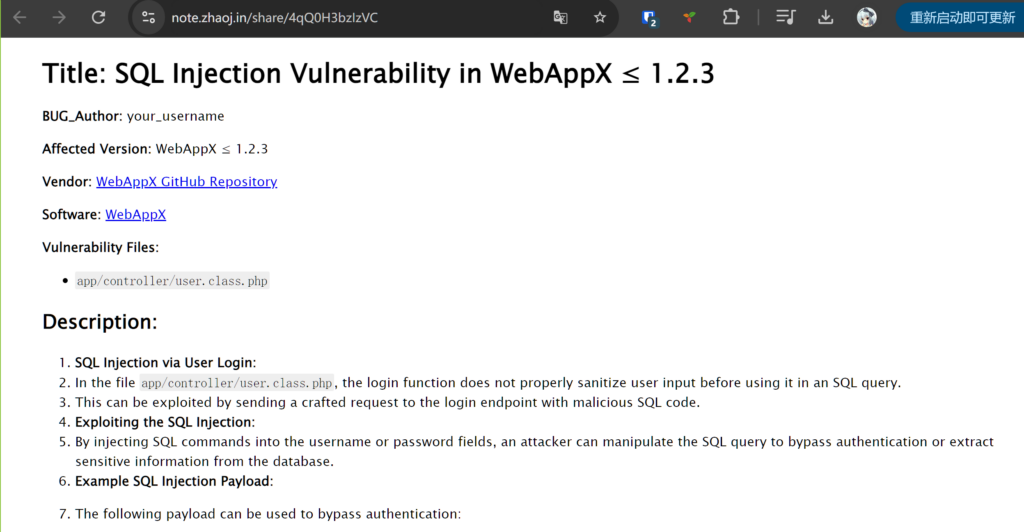
1.先准备好你的漏洞文档,可以按照如下的格式来书写。
## Title: SQL Injection Vulnerability in WebAppX ≤ 1.2.3

**BUG_Author:** your_username

**Affected Version:** WebAppX ≤ 1.2.3

**Vendor:** [WebAppX GitHub Repository](https://github.com/example/WebAppX)

**Software:** [WebAppX](https://github.com/example/WebAppX)

**Vulnerability Files:**
- `app/controller/user.class.php`

## Description:

1. **SQL Injection via User Login:**
   - In the file `app/controller/user.class.php`, the login function does not properly sanitize user input before using it in an SQL query.
   - This can be exploited by sending a crafted request to the login endpoint with malicious SQL code.

2. **Exploiting the SQL Injection:**
   - By injecting SQL commands into the username or password fields, an attacker can manipulate the SQL query to bypass authentication or extract sensitive information from the database.

3. **Example SQL Injection Payload:**
   - The following payload can be used to bypass authentication:
     ```
     Username: ' OR '1'='1
     Password: ' OR '1'='1
     ```

4. **Requesting the Login Endpoint:**
   - Make a request to the login endpoint with the SQL injection payload:
     ```
     http://<target-ip>/index.php?user/login
     ```
   - Use the above payload in the username and password fields.

5. **Verifying the Exploit:**
   - If the injection is successful, the attacker will be logged in as an authenticated user without needing valid credentials.

## Proof of Concept:

1. Access the login page of the vulnerable application:
   ```
   http://<target-ip>/index.php?user/login
   ```

2. Use the following credentials to attempt login:
   ```
   Username: ' OR '1'='1
   Password: ' OR '1'='1
   ```

3. If successful, the application will log in the attacker without requiring valid credentials.
2. 然后把写好的漏洞文档放到某个可以被公开访问的链接上,比如我是放到自己的笔记库里。也可以放到飞书文档或者石墨文档,开公开分享即可。
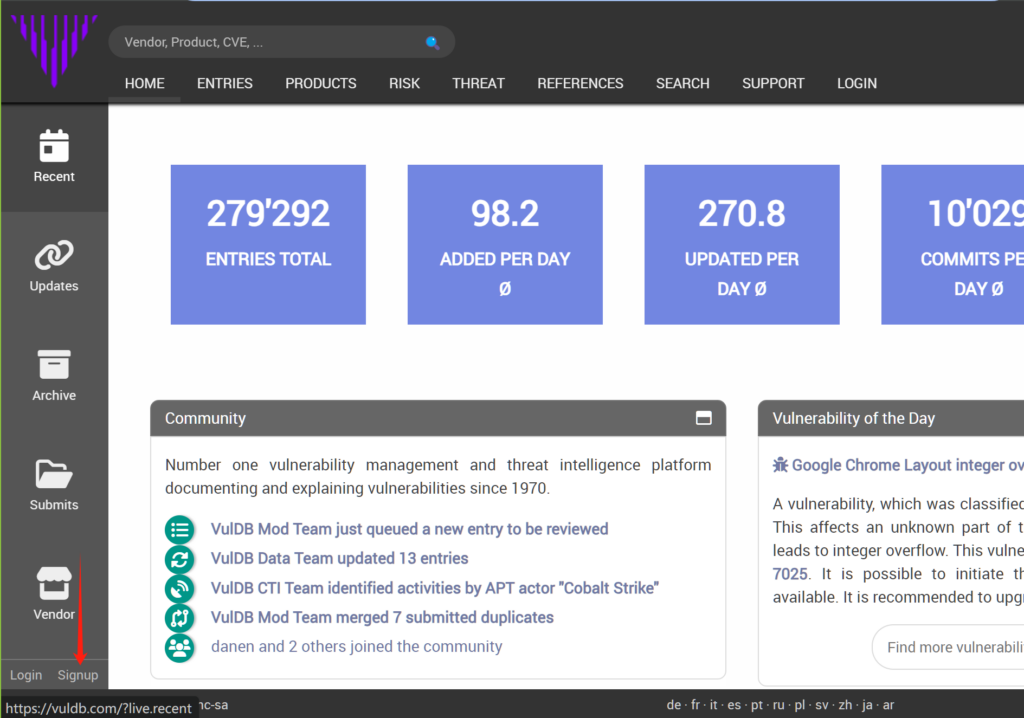
3. 然后打开 https://vuldb.com/,选择到 Signup,注册一个新账号。
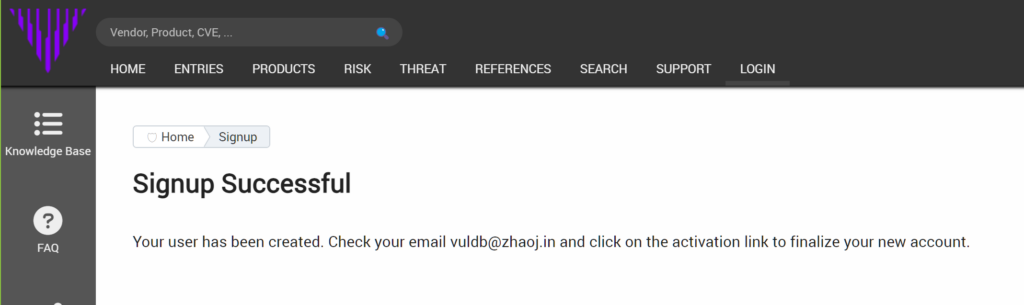
然后填入相关信息,进行注册。

点击“Signup”提交注册请求。
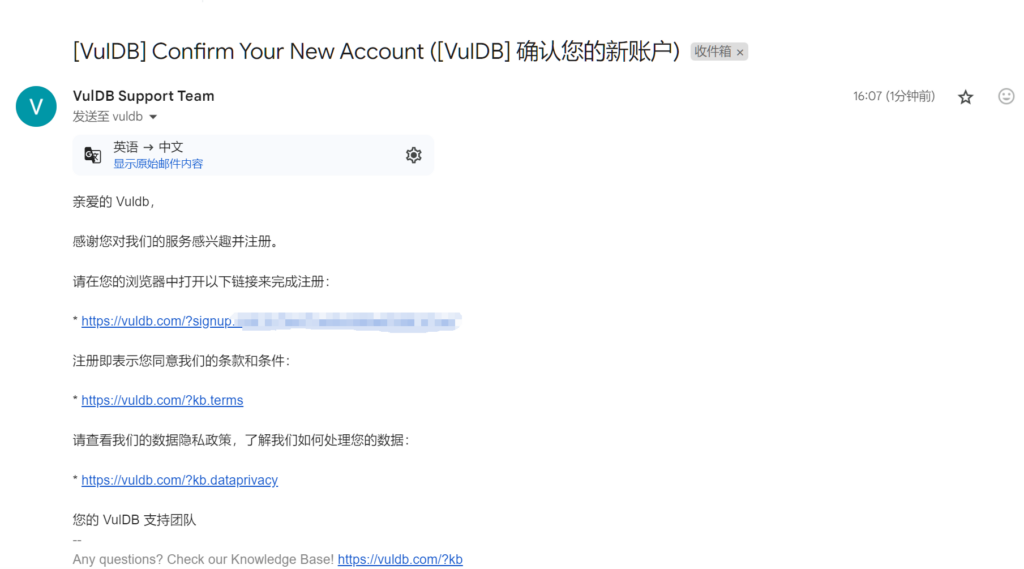
4. 然后到邮箱里点击链接确认注册请求。
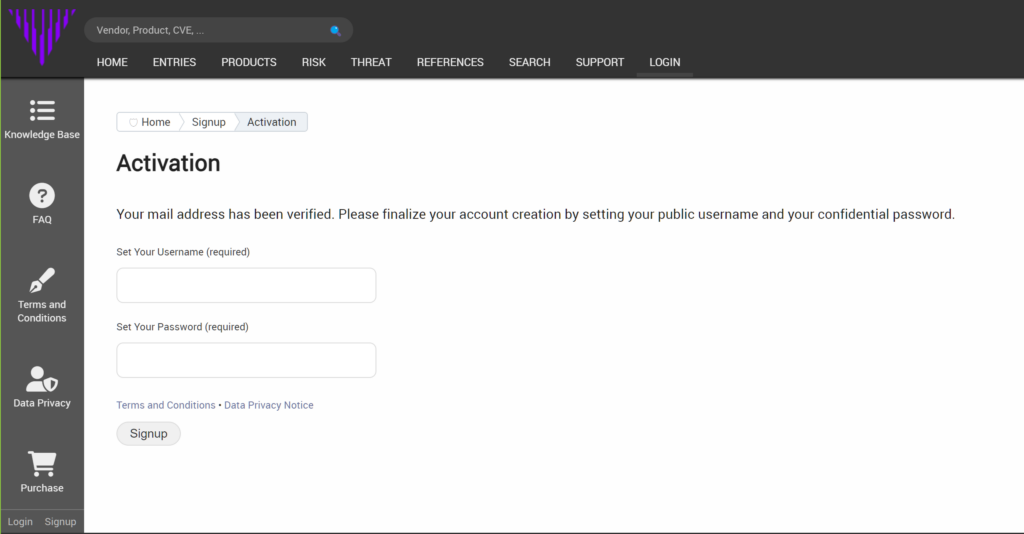
然后在打开的链接里设定用户名和密码,点击“Signup”完成注册。
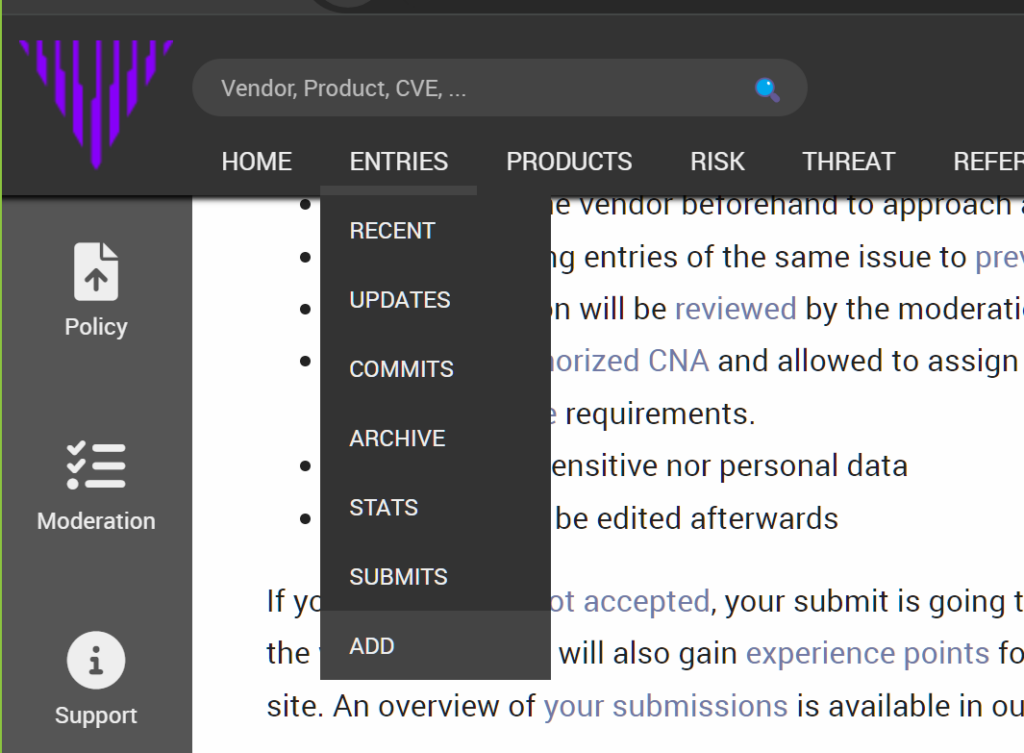
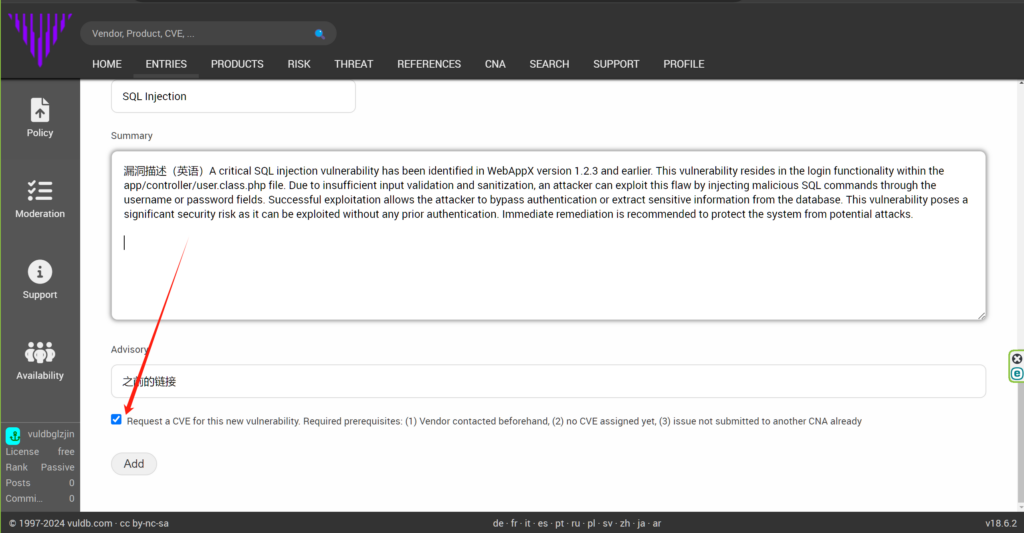
5. 然后点击 ENTRIES->ADD,进入漏洞提交页面。
用英语填写漏洞信息。

切记要把最后请求这个 CVE 编号的按钮点上。
6. 然后点击“ADD”完成提交。

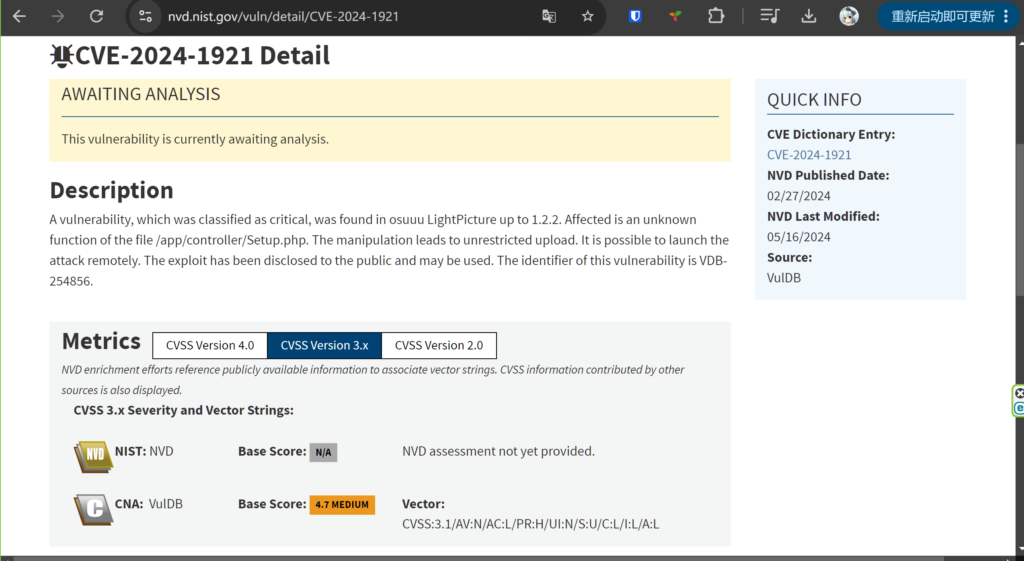
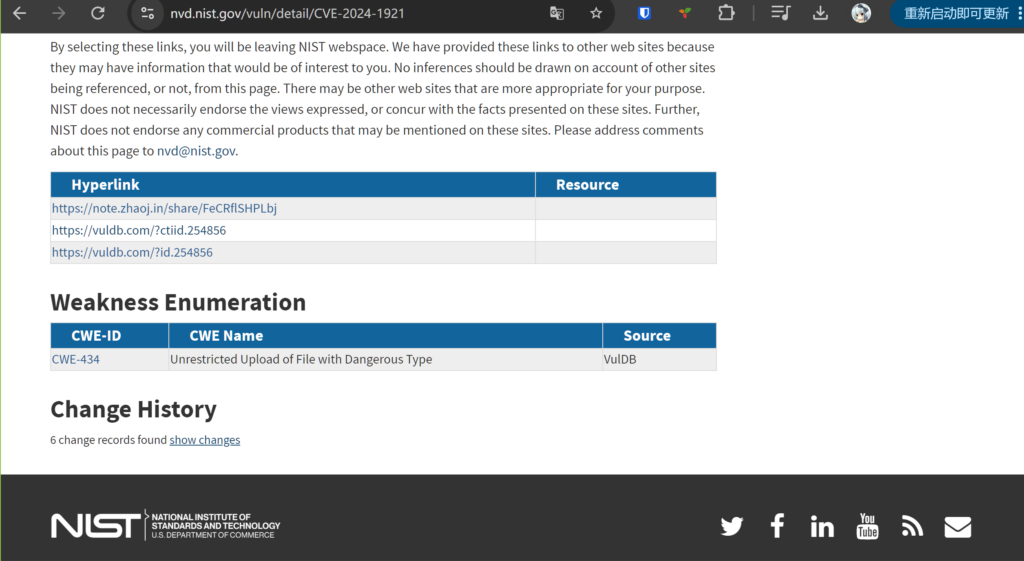
7. 在审核通过后,就会直接分配CVE编号了。

一般几个小时后就可以被检索到了。